跳转到主内容

如何在 ONTAP System Manager 中编辑 AutoSupport 配置

Views:
62
Visibility:
Public
Votes:
0
Category:
ontap-system-manager
Specialty:
om
Last Updated:

Color_Def.png

仅在指定的内容块内添加文本。单击此处 查看有关创建解决循环内容的更多信息。

适用于

  • ONTAP System Manager 9.7+
  • AutoSupport

说明

本文介绍如何使用 ONTAP 9.7+ 中的 ONTAP System Manager 新体验界面在集群上编辑 AutoSupport 配置。
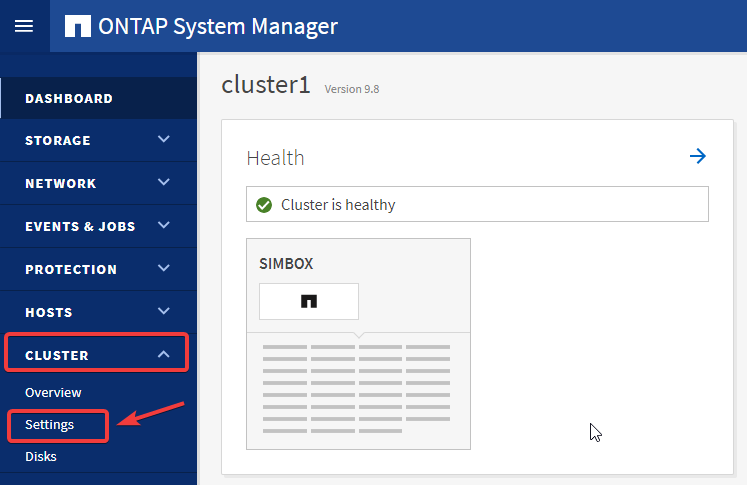
操作步骤

  1. 登录到 ONTAP System Manager。
  2. 访问设置下的集群。 

msedge_Jk6pAnZRyz.png

  1. 展开 AutoSupport 小部件上的点菜单。
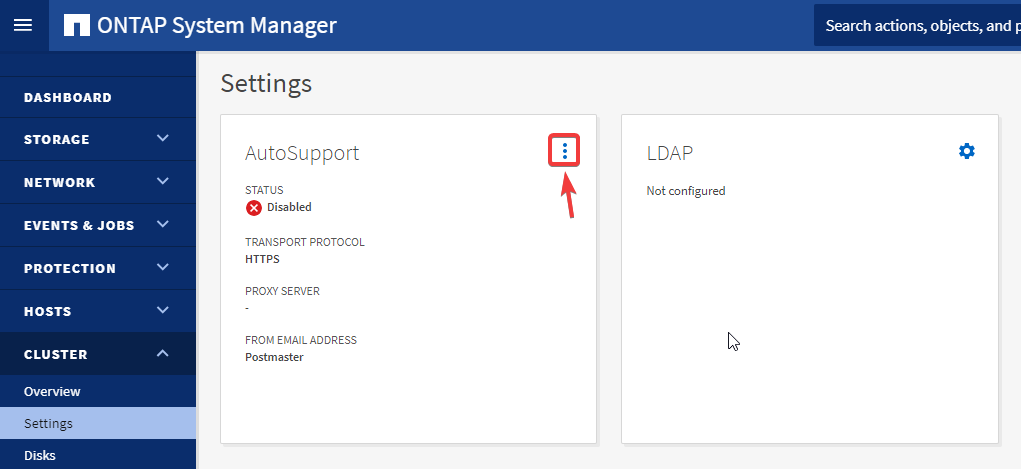
msedge_7DLEjSbHCJ.png

  1. 单击启用,然后更多选项 以配置详细信息

msedge_KicxpbS33Q.png

  1. 从这里可以使用相应的编辑按钮配置邮件主机、代理服务器、电子邮件收件人、电子邮件发送方 :

ASUP new experience.PNG

注意:

  • 您可以通过在邮件主机名后面指定冒号和端口号来配置每个邮件主机的端口值:例如mymailhost.example.com:5678,其中5678是邮件主机的端口。
  • 使用默认端口25的SMTP邮件服务器,即使未指定端口号,输入邮件主机地址后也会自动配置端口号25。

追加信息

追加信息_text

内部参考

内部参考_text

Sign in to view the entire content of this KB article.

New to NetApp?

Learn more about our award-winning Support

NetApp provides no representations or warranties regarding the accuracy or reliability or serviceability of any information or recommendations provided in this publication or with respect to any results that may be obtained by the use of the information or observance of any recommendations provided herein. The information in this document is distributed AS IS and the use of this information or the implementation of any recommendations or techniques herein is a customer's responsibility and depends on the customer's ability to evaluate and integrate them into the customer's operational environment. This document and the information contained herein may be used solely in connection with the NetApp products discussed in this document.